
All the product shots I have of jewelry on my website, I’ve taken myself in my studio. It’s very easy to do once you have the right set up. The first thing that I recommend that you get is a photo cube. This is basically a 12“ x 12“ collapsible cube with one side open that’s made of white nylon material. This allows the light to go through but removes any sort of glare. I bought mine on Ebay for $15. On Amazon you’re likely to pay three times that price. The best thing about the photo cubes is that they help with reflections. That’s one of the biggest challenges with taking jewelry pictures is that you can sometimes see your reflection holding the iPhone right there in the piece of jewelry. I use my iPhone 14 Pro for all my pictures. It does a great job taking pictures. I got the iPhone 14 pro because I wanted a very strong macro and macro allows you to zoom in and take very detailed shots of small items.
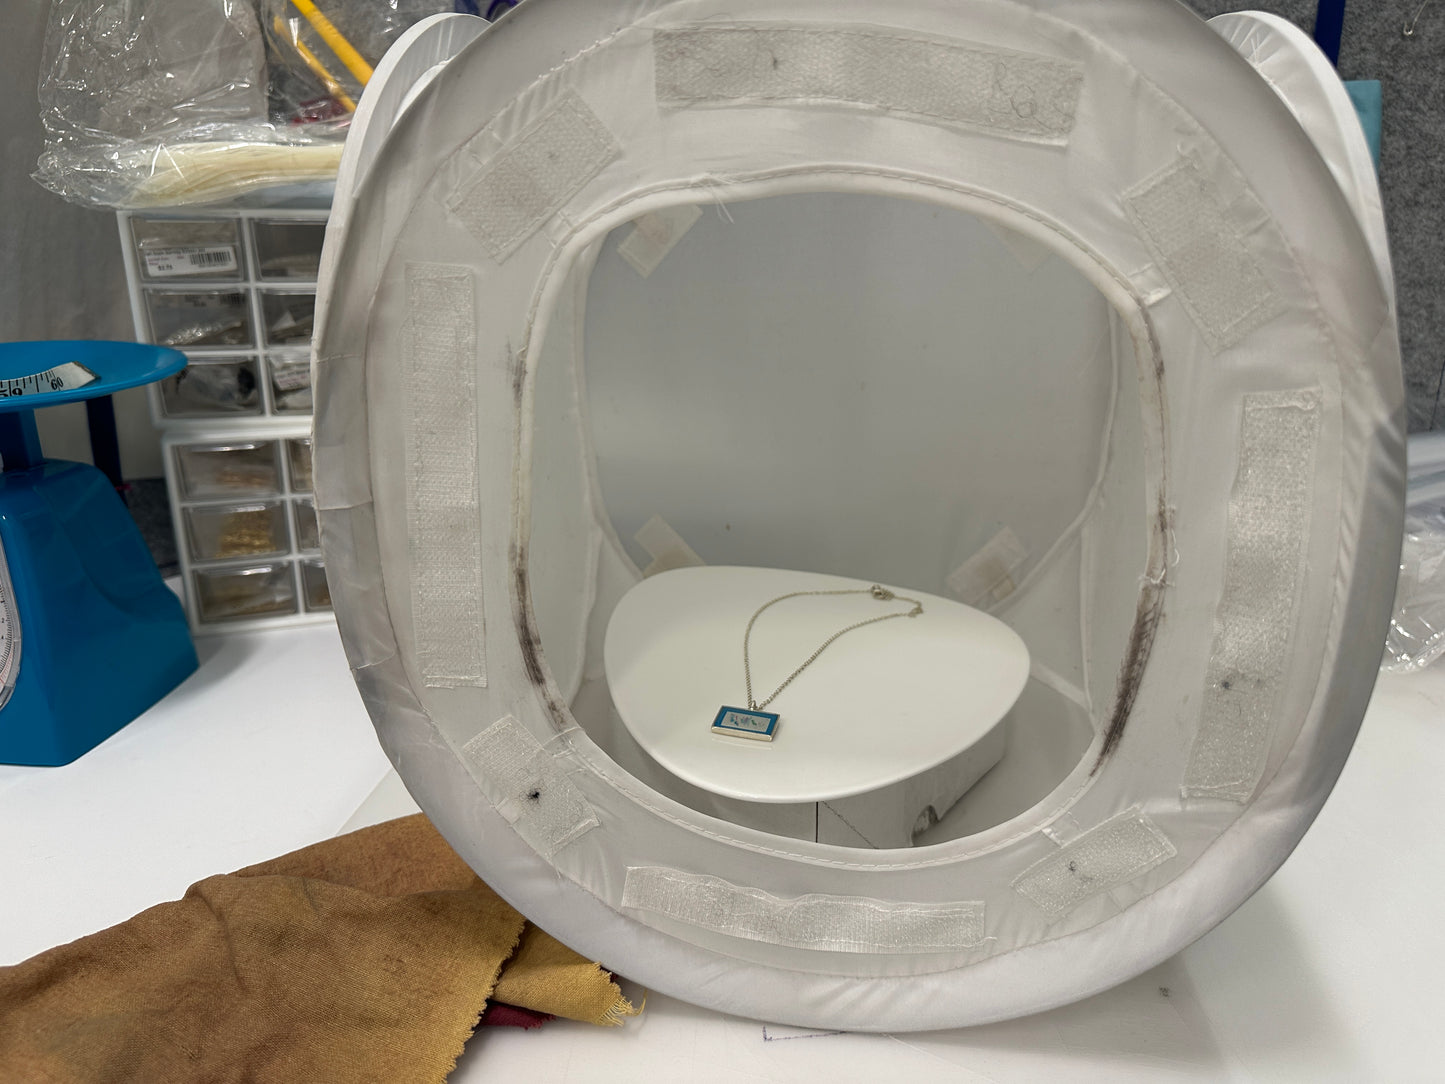
With the photo cube, I like to create a bit of a stage inside it, so I’ll put a small box inside and on top of that I put a plate. This is a flat ceramic plate that allows me to have a nice clean background for the shot. Most of my shots, as you can see from the website, are taken from an angle looking down. As I said, I’m not a professional photographer, so there aren’t shots of the product from straight on or anything which would require a more elaborate set up.
Before taking your pictures, you have to think about lighting. Now, the best lighting for taking photographs of jewelry and small items like that is a cloudy day. Seriously, a cloudy day produces nice neutral lighting for your photograph, whereas a sunny day will leave a blue tinge to your image. For years, I would take my jewelry out into the garden and photograph from there on a cloudy day (even in the winter I would do it outside on a cloudy day!). Now, I don’t bother because any of the photography apps and software out there are so sophisticated that it isn’t necessary. When I need to take a picture, I’ll put the light box on my desk, put the jewelry on the plate and take the shot. You can see below that on the left how dark the initial picture is and on the left is the finished image. It takes seconds to adjust a picture. What’s most important at this stage is getting a nice focussed image rather than worry about the background lighting.

There are many apps out there that will clean up the background of your photographs and cut and crop them for you. One that I’ve used and recommend is called PhotoRoom. They have a free version that you can try out. Most of the time I rely on Photoshop. I have the Photoshop express app on my phone. There is a free version that you can download. I use the paid version which costs me $49 a year. What I like about it, is that I can clean up a picture in less than a minute that’s how fast it is.
With Photoshop express, what you’ll want to do, once you’ve downloaded the app, is go into the photo retouch section and pull up the picture from your photo library. Here are the steps I go through when using Photoshop Express:
- Click on adjustments to adjust the exposure of your picture. Here my goal is to lighten the picture. I do this to remove some of the darkness. I’ll adjust the exposure just a little little bit. Too much and it might affect any colour elements. Since we’re making jewelry with kid’s art, the last thing I want to do is alter the artwork.
- Next I adjust the white in the image. Photoshop express has a button to adjust the white and on the flipside a button to adjust the black in any image. Everything that should be white in the image becomes whiter. This will totally clean up the white background that I’ve set up in the photo cube. Again you wanna be careful that you don’t overdo it. If I feel like the background is not quite white enough, I will save the picture to my phone, then repeat step two using the adjusted photograph to start with. That’s usually enough to make the background even cleaner. That’s it, that’s all I do to create my pictures.
